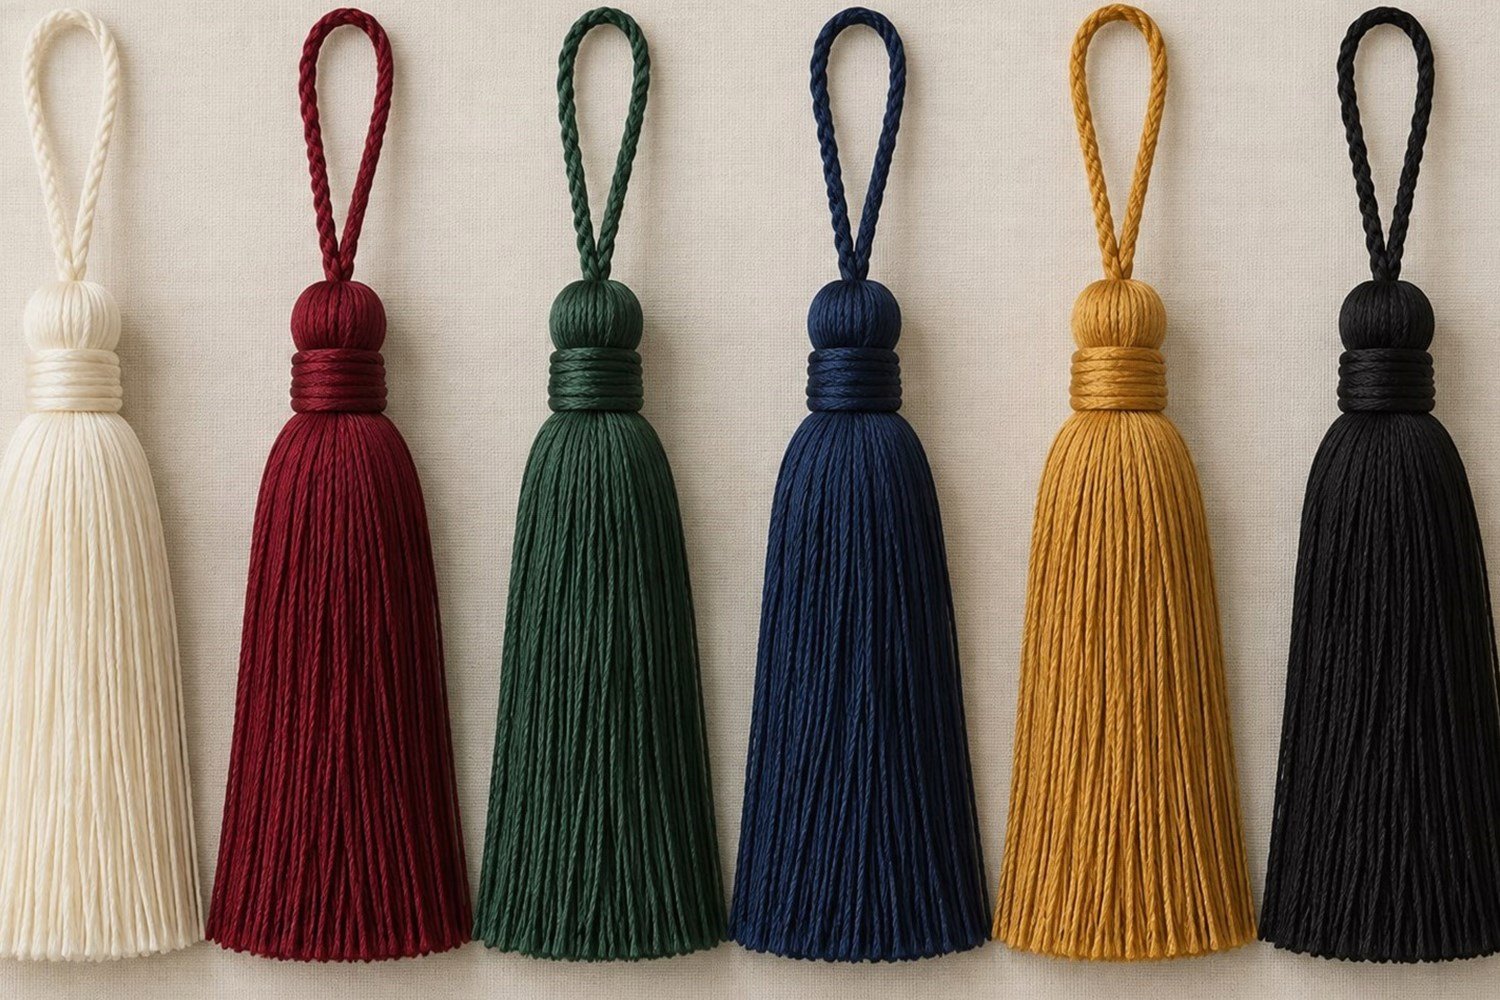
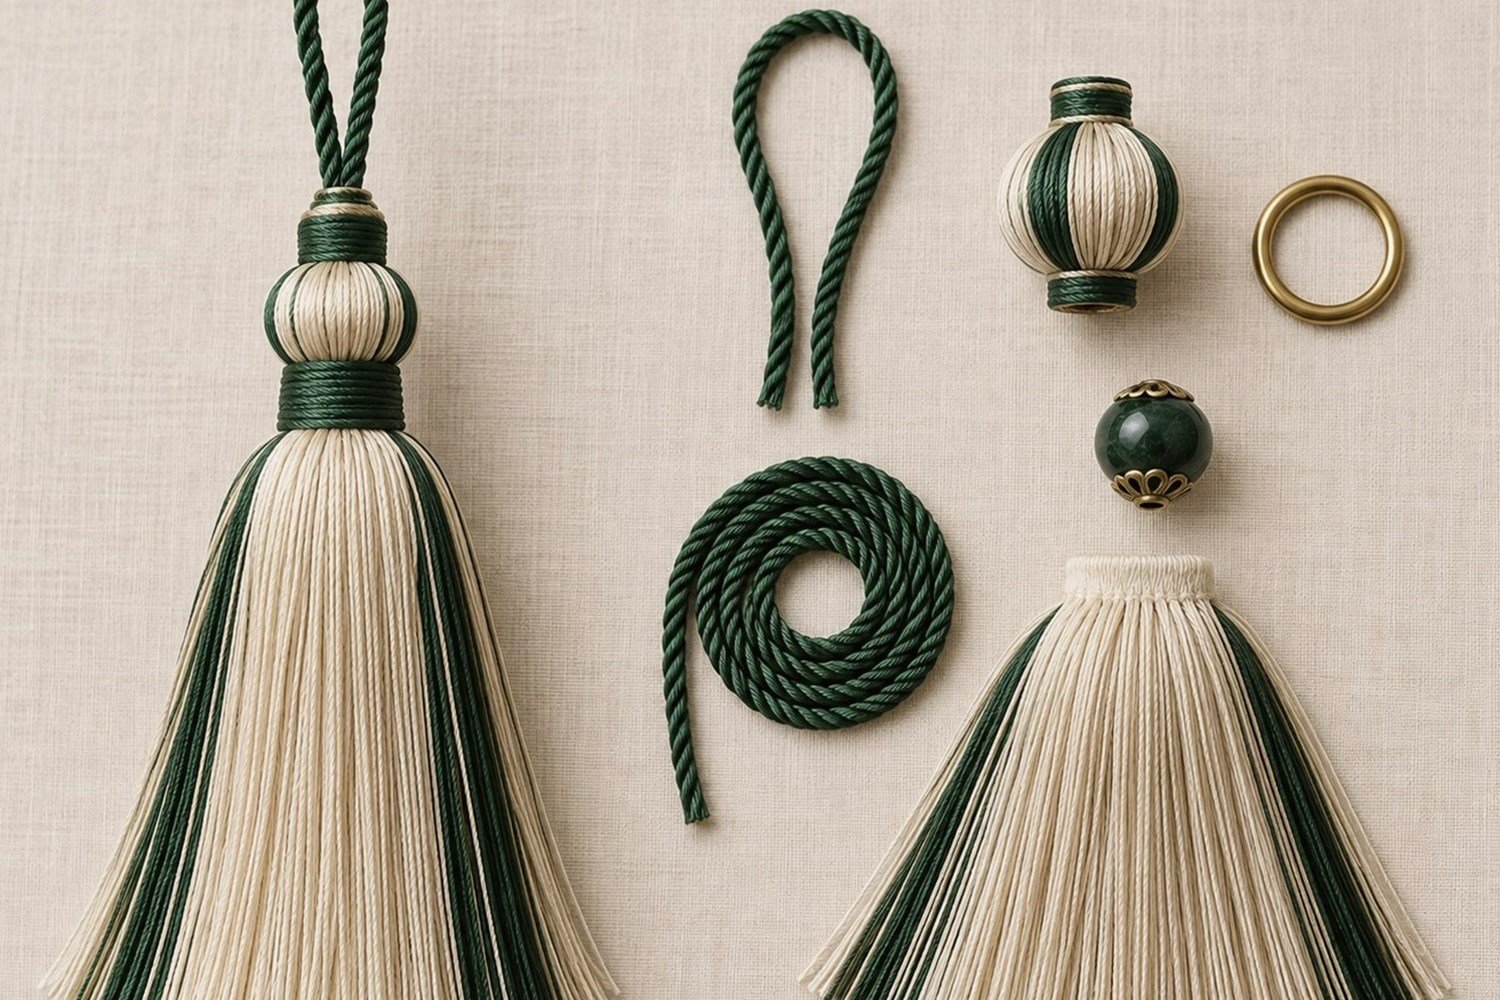
Main Content
Step 1: Define the Application
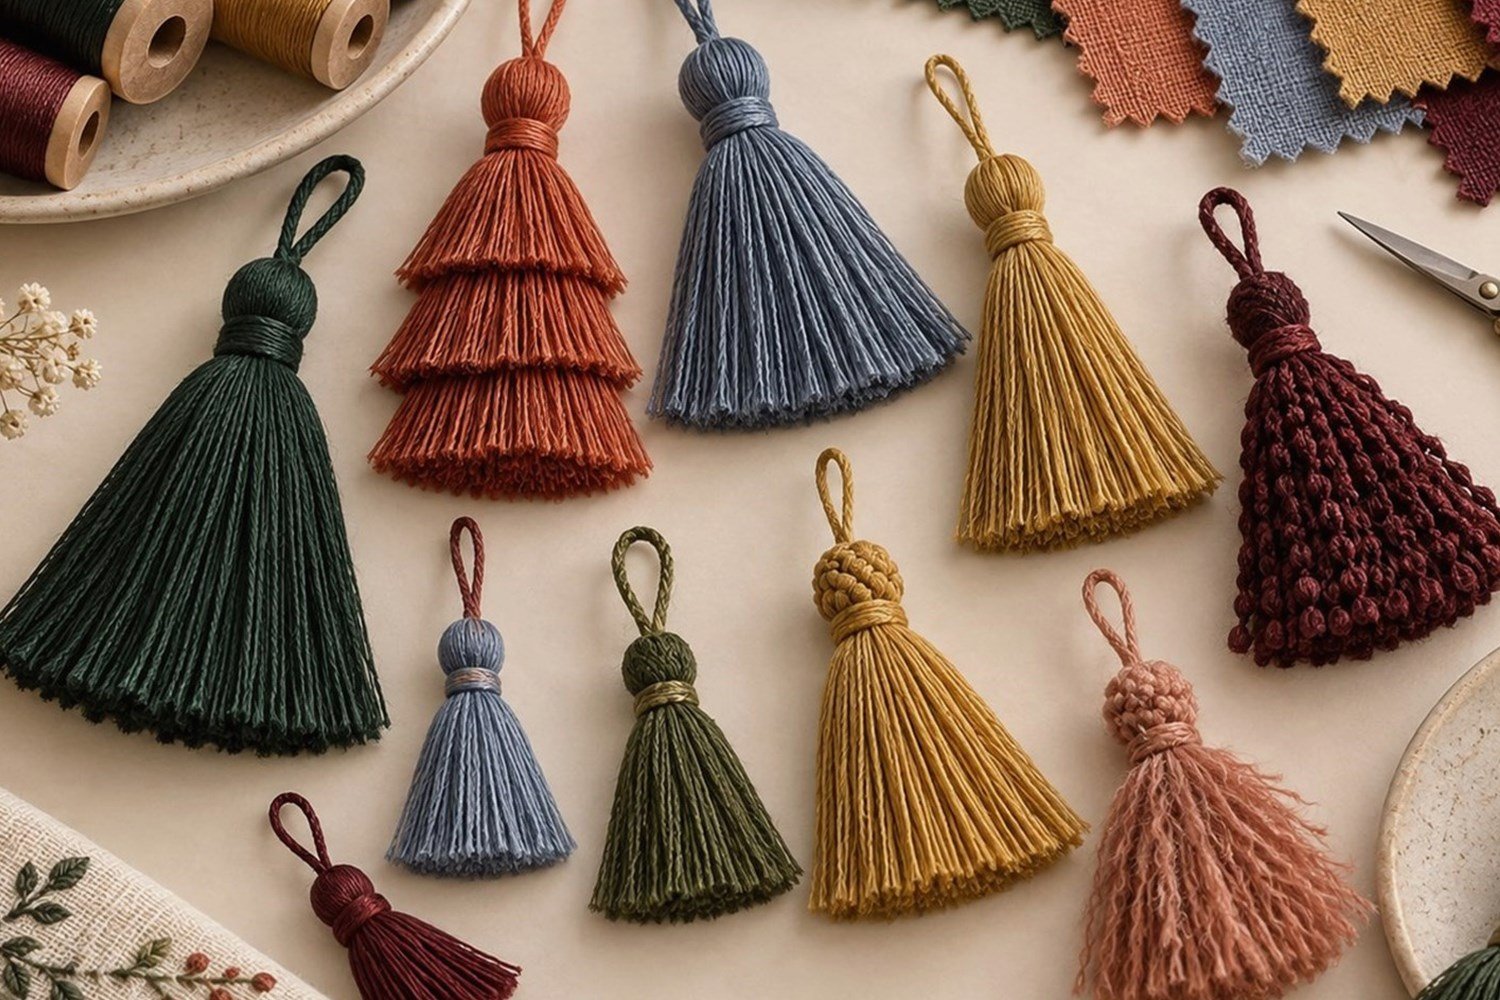
Start by defining the actual end product because the application determines scale, attachment, material direction, color coordination, cord requirement, and decorative complexity. The same tassel design can require different specifications when it moves from a bookmark to a curtain, graduation cap, key, bag, gift, or furnishing product.
| Application | First Questions to Answer |
|---|---|
| Graduation | Institutional color, loop, cord, length, year charm |
| Bookmark | Book scale, compact cord or loop, printed-color coordination |
| Key | Attachment, key or furniture scale, decorative weight |
| Curtain | Fabric, tieback position, cord, fullness, overall effect |
| Home textile | Texture, color, product scale, decorative style |
| Gift or promotion | Brand direction, charm, packaging, attachment |
Category references include Graduation Tassels, Bookmark Tassels, Key Tassels, and Decorative Tassels.
Step 2: Choose a Starting Reference

A starting reference gives the project a shared visual direction, but each reference type has limits. A physical tassel can communicate material, scale, and construction; a photo can show a visual direction; a drawing can define dimensions; and a fabric or product sample can show the surrounding context.
| Reference | Most Useful For | What Still Needs Confirmation |
|---|---|---|
| Physical tassel | Texture, scale, construction | Required changes and exact components |
| Photo or image | Visual direction | Dimensions, material, and physical color |
| Technical drawing | Measurements and structure | Material, color, and surface effect |
| Fabric swatch | Textile coordination | Tassel construction and finish |
| Existing product | Attachment and proportion | Target tassel design details |
When working from an existing sample, make three lists: what to keep, what to change, and what to confirm. A reference photo should not be assumed to provide reliable physical dimensions, material composition, or exact textile color.
Steps 3–6: Define Size, Material, Color, and Construction
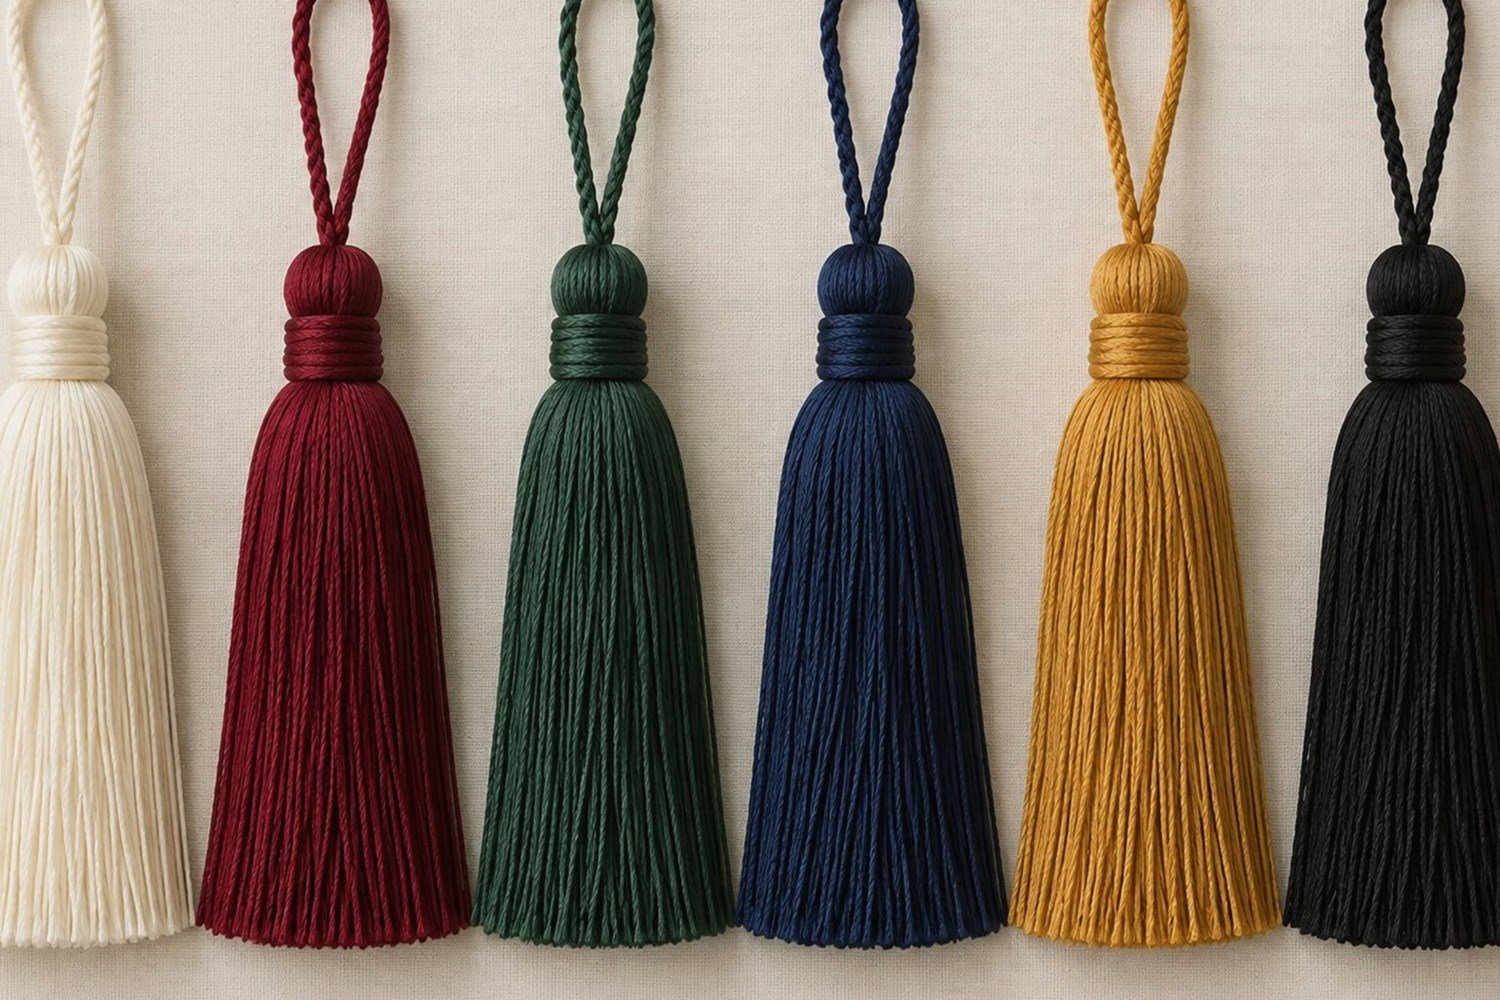
Translate the reference into named measurements, material and color directions, and a construction description before requesting a sample. This turns an idea into information that can be checked and revised consistently across the project.
Step 3: Define size and length
State overall length, body length, skirt length, head height and width, cord length, loop length, and maximum width where applicable. Define the measurement points and units. “10 cm tassel” is not enough when it is unclear whether the value describes the body, skirt, or total hanging length. See Tassel Size and Length for measurement definitions.
Step 4: Select the material
Material affects texture, sheen, drape, movement, fullness, color appearance, and visual weight. Depending on the construction, options may include polyester, rayon or viscose, cotton, metallic-effect yarn, textured yarn, leather or faux leather, and mixed components. A buyer can start with a desired visual direction such as matte, smooth, lustrous, textured, metallic, or structured. See Tassel Materials.
Step 5: Define the colors
Choose single-color, two-color, multi-color, matching, contrasting, brand, school, or metallic directions. State the shade, material, surface finish, color distribution, cord color, head color, skirt color, and component colors where relevant. Compare the selected color on actual material; a screen image should not be treated as an exact textile target. See Tassel Colors.
Step 6: Define construction
Specify the overall style: a simple thread tassel, beaded style, decorative tassel, knot or wrapped head, braided cord, application-specific loop, or other suitable construction. Customization feasibility depends on the tassel type, material, dimensions, construction, components, and intended application.
| Specification Area | Questions to Record |
|---|---|
| Dimensions | Which component, what value, which unit, which reference points? |
| Material | What fiber direction, texture, sheen, and visual volume? |
| Color | What shade, reference, finish, and distribution? |
| Construction | How do head, skirt, cord, loop, and attachment connect? |
Steps 7–10: Customize the Visible and Functional Components
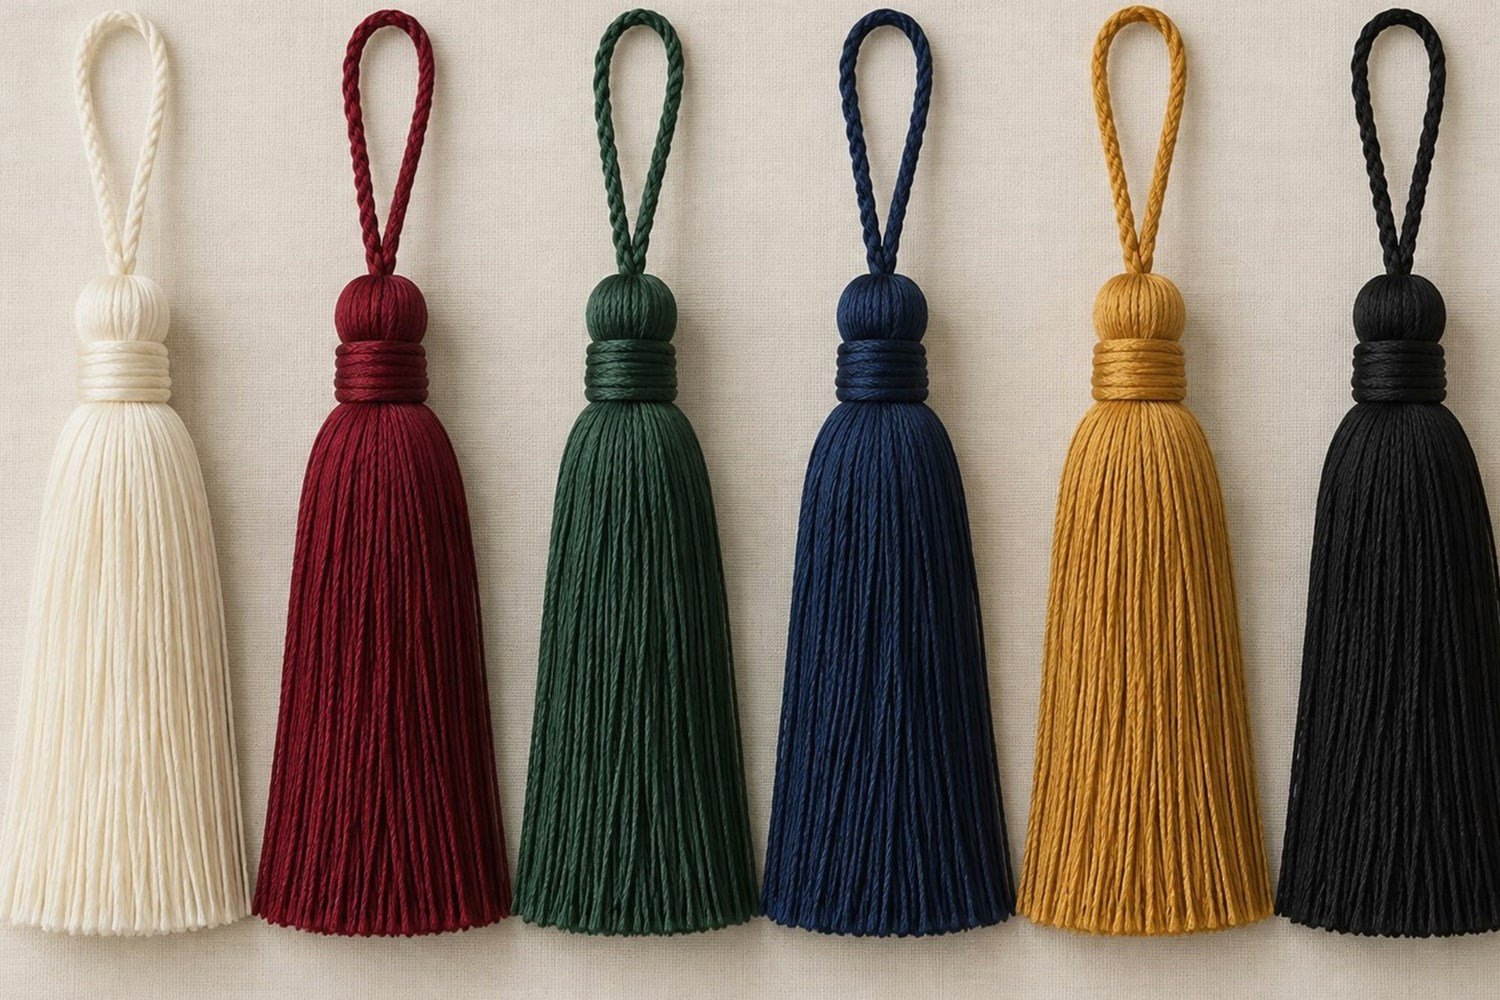
Customize the head, skirt, cord, loop, beads, and charms as a connected system, since each part changes the tassel’s appearance, attachment, balance, and perceived size. The relevant options depend on the selected construction and product requirements.
Step 7: Head and skirt
For the head, describe height, width, shape, material, color, wrapping, decorative detail, and connection to the cord. The skirt can be defined by length, fullness, material, color distribution, strand thickness, layering, shape, and finishing. Light, medium, and full skirts are visual directions, not universal standards; the right fullness depends on scale, material, application, and desired visual weight.
Step 8: Cord and loop
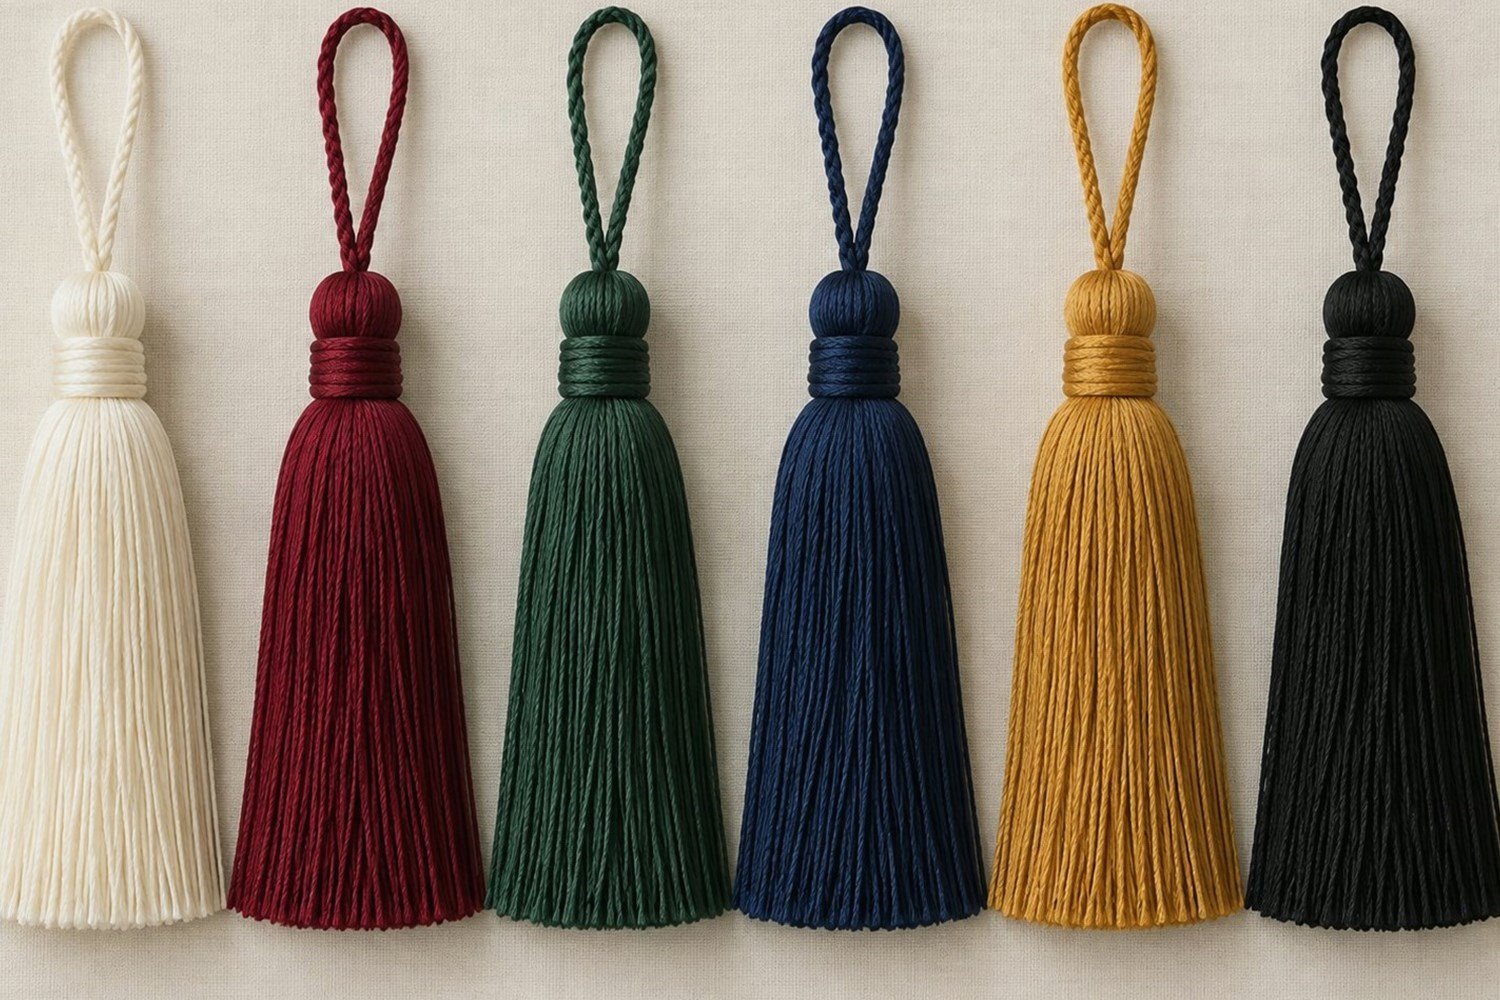
State cord length, thickness, color, color count, twist or braid direction, and connection method. State loop length, opening, material, color, attachment position, and measurement method. Flat loop length, folded hanging drop, and circumference are not necessarily the same measurement. The attachment must fit the intended product.
Steps 9 and 10: Beads, components, and personalized details
Where applicable, add beads, decorative caps, wood, acrylic, resin, metal components, metallic accents, knots, or charms. Record material, size, shape, color, quantity, position, arrangement, finish, and connection. A charm can carry a year, logo, symbol, initials, or other identifying detail for graduation, branded, promotional, commemorative, or gift projects. Custom artwork needs suitable reference material and a feasibility review; do not assume every form suits every construction.
Explore Beaded Tassels for a related component direction.
Step 11: Create the Custom Specification

A custom specification gathers every agreed requirement in one place so the project can be reviewed as a complete product rather than a collection of separate messages. The document can begin simply, then become more detailed as material, dimensions, color, and components are resolved.
| Specification Item | Information to Include |
|---|---|
| Application | End product, attachment position, visual objective |
| Reference | Sample, photo, drawing, fabric, product, or written brief |
| Dimensions | Values, units, and defined measurement points |
| Materials and color | Yarn direction, sheen, shade, reference, distribution |
| Construction | Head, skirt, cord, loop, attachment, finishing |
| Components | Beads, caps, charms, decorative elements |
| Packaging and quantity | Project context and supply requirements |
A complete first brief does not need to contain a final answer to every detail. It should identify the decisions already made, the reference materials available, and the questions that must be resolved through the representative sample.
Steps 12–13: Develop and Review a Sample

A representative sample is reviewed against the specification and the intended product, allowing the complete balance of material, color, construction, and scale to be evaluated together. It is more informative than a digital image alone because it can be considered with the actual product, fabric, attachment, and surrounding colors.
| Review Point | What to Check |
|---|---|
| Application fit | Attachment, hanging position, product scale |
| Dimensions | Body, skirt, head, cord, loop, width, reference points |
| Material | Texture, sheen, drape, fullness, visual volume |
| Color | Shade, finish, distribution, component coordination |
| Construction | Head, skirt, cord, loop, and attachment relationship |
| Components | Beads, charms, caps, position, and proportion |
Sample review questions
- Does the tassel look proportional to the end product?
- Are measurements taken from the agreed start and end points?
- Does the selected material give the expected texture and volume?
- Do color and sheen coordinate with the physical reference?
- Does the cord, loop, or attachment work in the intended position?
- Do beads and charms add the intended detail without changing balance unexpectedly?
Steps 14–15: Revise and Approve the Final Sample

When a review identifies a change, revise the connected specification rather than changing one isolated description and leaving the rest unaligned. A new cord length may affect hanging drop; a fuller skirt may affect perceived size; a different material may change color appearance; and a new bead may change head proportion.
| Change Requested | Related Items to Recheck |
|---|---|
| Longer skirt | Overall length, body proportion, hanging space |
| Different material | Color appearance, sheen, fullness, drape |
| New cord or loop | Attachment, total drop, connection method |
| Added components | Weight, head scale, color balance, placement |
| Changed color | Material, finish, adjacent product and component colors |
Final approval should connect the representative sample, written specification, reference image or material, and documented changes. This makes the final direction easier to communicate across the project.
Step 16: Confirm Requirements Before Bulk Production

Before bulk production, confirm the final specification as one complete record that matches the approved sample and intended product. The confirmation should identify what has been decided, how it is measured, and which reference represents the required outcome.
- Application, tassel type, attachment, and product context.
- Reference sample, image, drawing, swatch, or approved product.
- Body, skirt, head, cord, loop, width, and overall dimensions where relevant.
- Material direction, color references, sheen, and color distribution.
- Construction, fullness, components, charm details, and packaging requirement.
- Final sample, documented revisions, and the agreed project specification.
Project-specific acceptance details should be defined in the actual documentation. This educational workflow does not invent MOQ, lead times, capacity, prices, numerical tolerances, or guaranteed color matching.